Light Schedule For Seedlings: Are you aware of the best light schedule for seedlings? Do you know the correct light cycle for every stage of their growth?
Most outdoor growers think that following the natural sunlight is what’s considered “correct,” but no, that’s not 100% true. So, in this guide, I will walk you through the best timings for the light absorption of your cannabis plants.
Can’t seem to get a hold of the best grow lights? Many indoor growers use the ViparSpectra P1000, 1000W infrared full-spectrum LED grow light. Equipped with multiple options, this artificial light can produce the same light as when the sun rises, sets, and when it’s at its peak! You can never go wrong with ViparSpectra’s high-efficacy LED grow light.
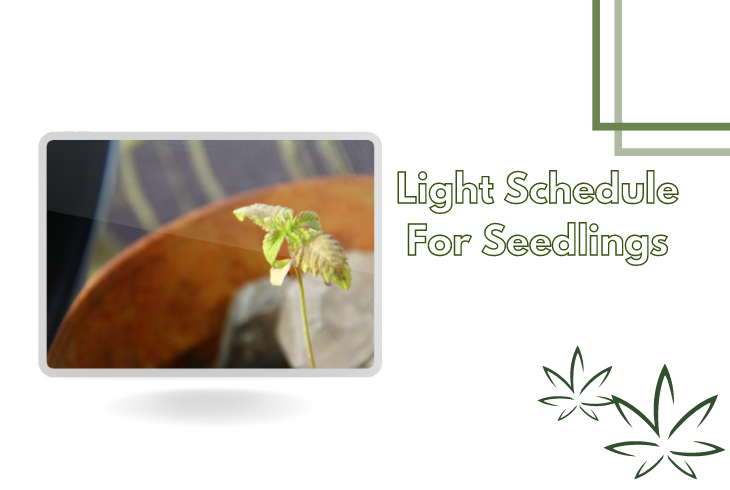
Understanding the Life Cycle Of Your Cannabis Plants
Contents
Growing cannabis plants is a tough job, even for experienced gardeners. Because of their unique nature, the potency level you’re trying to keep, and the rapid growth and development of this species, it isn’t easy to blend and play with the factors that affect its growth.
Now, for you to understand it better, let’s briefly discuss the typical life cycle of cannabis plants.
Germination Stage
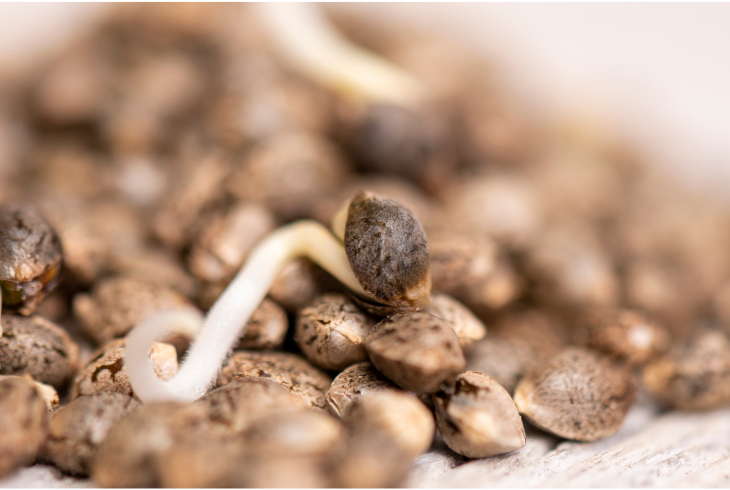
Germination Length: 4 to 10 Days
If you think that your cannabis plants are sold, purchased, and distributed as plants, think again. They start as cannabis seeds, just like other types of plants.
These seeds are carefully cultivated until they become germinated seeds or sprouted seeds. This is the second stage of the life cycle of your cannabis plants. Upon germination, they’re ready to be transferred to a different growing medium or a different container — a bigger one than the container where it is.
I’ll talk more about several strategies and techniques for germination later.
Seedling Stage
Seedling Stage Length: 2 to 4 weeks
Over the course of a few weeks, your cannabis seedlings will start to mature and develop. You’ll notice them growing a few fan leaves, and they’ll start growing up vertically.
This is also the stage in the life of your cannabis plant where you’ll see it produce “fingers” or fan blades.
NOTE: They're still considered cannabis seedlings even when they're tall. The only time your cannabis plant transitions to the vegetative stage are when they start developing leaves on new fan leaves.
By this time, you should now have considered transplanting seedlings from one grow medium and container to a bigger one.
Vegetative Stage
Vegetative Stage Length: 3 to 16 weeks
You can consider it like the “puberty stage” of cannabis plants. This is also where you need to ensure that your plants are inside a well-maintained grow room because this is the stage that dictates the initial size and quality of the buds it will produce.
Furthermore, this is also the stage in your cannabis plants’ life cycles where light schedules will be crucial. This is where the hours of light and darkness will matter the most.
By this time, you have transplanted at least twice (from germination to seedling and seedling to vegetation).
Other than light cycles, other crucial factors that point toward the health of your plants will be more significant. This includes the nutrition of the soil, the temperature, the amount of water, and of course, ventilation.
DID YOU KNOW: Mature marijuana plants would have around five (5) to eight (8) blades per leaf at the minimum.
Flowering Stage
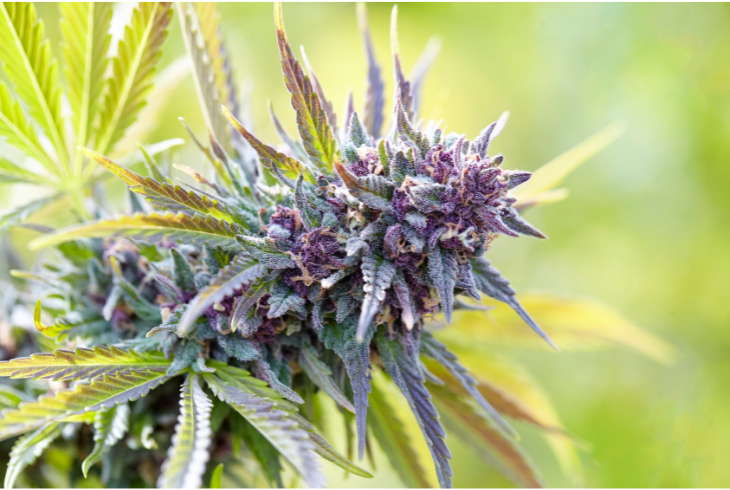
Flowering Stage Length: 8 to 11 weeks (max)
The last stage of your cannabis plants’ cycle would be the flowering stage or the blooming stage. This is the part of their lives where too much light will be much worse than indulging them in darkness.
Most healthy cannabis plants and strains will start flowering 7 to 9 weeks in, but others can take much longer — so don’t worry.
Here’s a dissection of the different categories and statuses of the flowering period:
From the 1st to the 3rd week, fully-matured feminized cannabis seeds will start developing pre-flowers; this is known and called flower initiation. Then, from the 4th to the 6th week, the production of buds will stop, causing the current ones to fatten up and mature; this is called the mid-flowering stage.
From the 6th week and so on, the density and amount of trichome will increase, where the plants will become and transform into a sticky product. This is known as ripening or late flowering.
NOTE: Just because you notice that your growing cannabis is in the flowering stage doesn't mean they're already farmable.
This is what the usual life cycle of cannabis seeds and cannabis plants looks like. And in case you’re asking about the typical seed-to-harvest timeframe? It will be around three (3) to eight (8) months at the maximum.
Cannabis Seeds Germination Techniques
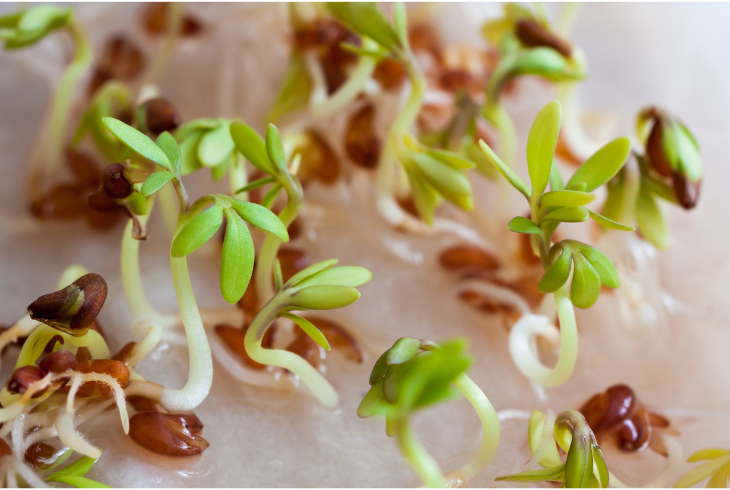
The germination process is the very first process done to cannabis seeds — or any other types of seeds in this matter. Without germination, your seeds wouldn’t transition over to the seedling stage.
You want to do this properly because it will be the key to the development of your cannabis plants.
Contrary to what many people think, the process of germination isn’t as simple as planting the seed into the soil. It involves ensuring that your seeds are kept in a dark, moist space!
Here are the different germination methods you can do to your cannabis plant indoors!
Paper Towel Method
Many growers consider this method the newest and most modern type of process. What this means is that you’ll utilize damp paper towels or cotton pads to relay the moisture that your cannabis seeds need.
- Establish at least 4 layers of paper towels inside a plastic container.
- Then, place the cannabis seeds on the paper towels. Make sure that they have ample space.
- Spray it with warm water and make sure that it’s wet but not drowning.
- Open the container’s lid at least twice a day to check if it is in the correct temperature and humidity.
Soil Germination
Considered by most growers as the simplest and most traditional way of germinating, you need unfertilized soil for this.
So, get a pot, place the soil inside the pot, and let your cannabis seeds rest on it. Spray warm water into the soil to keep the vicinity of the seeds moist. Just make sure that you don’t make it too wet.
Check back every 6 to 8 hours to check if the water has evaporated. If it’s still damp to the touch, leave it be; however, if the soil is completely dry, re-spray it with warm water.
Water Germination
The last method, but most definitely not least, is water germination. This process involves soaking your cannabis seeds in a glass of water so that the compounds of water can break the shell of the seeds down.
Use distilled lukewarm distilled water and fill the glass 3/4 through. Place the seeds inside the glass and let them float — they will eventually sink after a few minutes.
Check back on it every 2 days and when you see the radicle breaking through the shell, remove it.
If you don’t see any sign of the radicle coming out, add 3 to 4 drops of hydrogen peroxide to eradicate unnecessary bacteria that could be retarding its development.
NOTE: Whichever method you use, ensure that you keep the container in a cold, dark place. You want to make sure that the temperature where you're germinating is about 21 to 26 degrees Celsius.
What is a Light Cycle?
Light cycle or light schedule refers to the schedule or the cycle you want your marijuana plants to absorb light. Cannabis seedlings, just like any other, need light in order for them to grow.
The light cycle will usually be noted as two (2) numbers, whereas the first number will refer to the hours of light, while the second number will refer to the hours of darkness.
So, here’s the perfect light cycle guide you need for your young seedlings up to when they enter the vegetative stage and even the flowering stage.
Light Schedule For Seedlings: Everything You Should Know
Being one of the rarest, most beautiful, and most remarkable plants and vegetations out there, you should have already expected that cannabis plants would grow out of the ordinary.
Most indoor growers recommend using sets of high-quality and expensive grow lights to make sure that these photoperiod plants get what they truly need. But now, let me guide you by educating you on the light cycle of your growing cannabis.
Cannabis Plants Light Cycle Basics
Remember what I said earlier about what the measurement of light cycles looks like? — The first number determines how much light your cannabis plants would need, while the second number determines their total darkness exposure.
So, here are the fundamental light regimen most growers follow for their cannabis plant:
Seedling Stage (16/8 or 18/6)
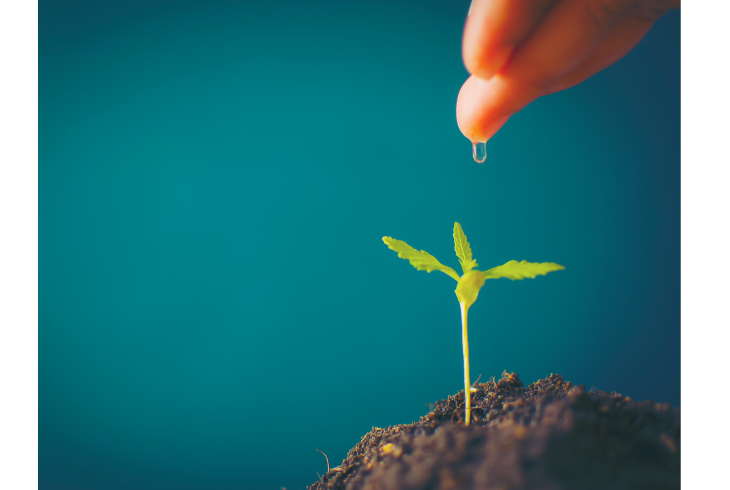
After germinating, you should now see the initial stages of your plant’s development. It should start growing vertically, and it should already be turning green.
In order for it to develop, make sure that it gets a minimum of 16 hours of light and about 8 hours of darkness. Most expert growers consider the seedling stage to be the easiest stage because it can be left outside naturally.
I usually go for the 18/6 light schedule, and sometimes, even 20/4. The benefit of the latter is that it helps encourage faster vegetative growth, but of course, with the expense of a higher electricity bill.
Vegetative Stage (18/6)
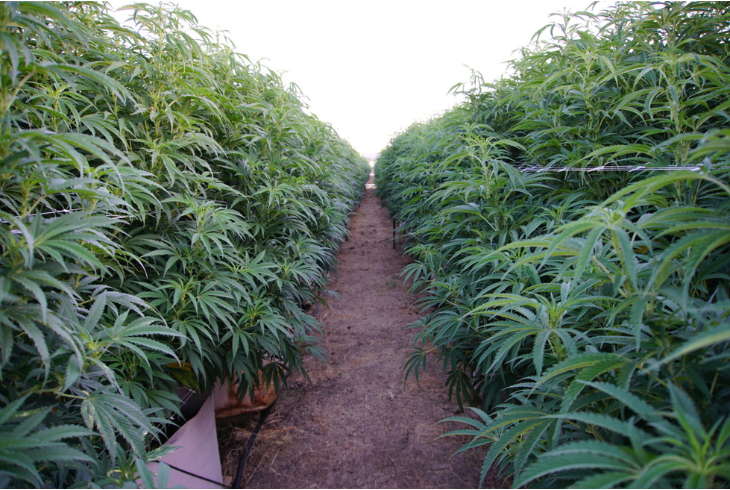
This is the stage we are all familiar with, and it’s something that is also crucial. The vegetative stage is the phase of your cannabis plant’s life cycle where leaves would start to grow out.
For this stage, the recommendation by most growers would be to have an 18/6 light cycle. 18/6 is what many expert growers consider the best light schedule because it allows the plant to undergo photosynthesis while still getting uninterrupted darkness.
You’ll encounter other growers that perform a 24/0 light schedule but only temporarily.
As I mentioned above, the longer hours of light help the vegetation to proceed faster, more urgently, and of course, more healthily.
NOTE: I usually do 24/0 light cycles within the first 2 to 3 days of the short vegetative phase. After that, I transition it to 22/2 and then 18/6 until it reaches the point where it's ready to enter the flowering stage.
Flowering Stage (12/12)
This is where most of the debate comes from. A lot of people believe that cannabis plants aren’t very requiring when it comes to darkness — they have this belief that cannabis can grow flowers automatically without being imbued in darkness.
It is true, but only partly. Now, why do I say partly? — Simply because not all cannabis plants are like that. There are what we call autoflowering plants or plants that can enter the flowering phase even without altering the light cycles.
As a grower who has the experience, and someone who has talked to many types of growers, I would suggest going with a 12/12 light schedule — you can even consider an 8/16 one to give it uninterrupted darkness and promote the growth and development of the buds.
Revegetation Stage (24/0)
Last but most definitely not least of these light schedules would be the revegetation stage. This is the stage where growers regrow and revegetate their cannabis plant.
For this particular stage, experts recommend doing a full 24/0 light cycle. What this does is promote faster growth of the leaves for it to go back to the same process to produce buds again.
NOTE: This step would automatically get past the seedling phase because the stalk, stems, and the overall structure of the cannabis plant will remain after trimming and pruning.
So, these are the light schedules you need to take note of if ever you are planning to grow indoors.
What Grow Light Should You Use?
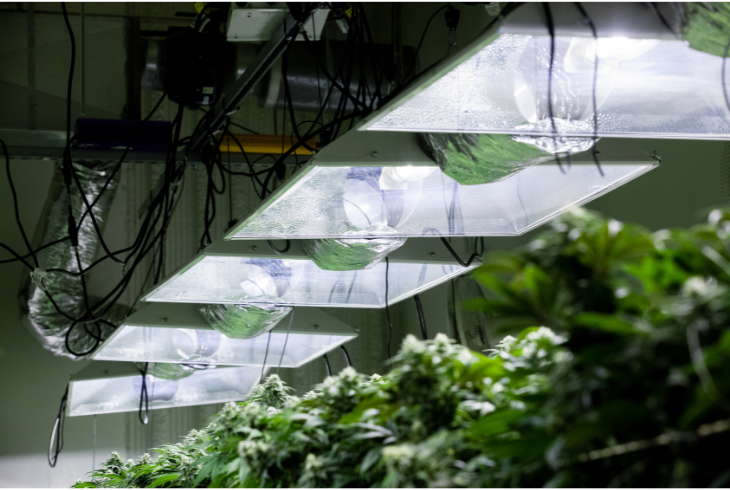
Now that we’ve knocked out the basics of cannabis light schedules let’s now talk about another critical factor — grow lights.
These lights would serve as the artificial growing mechanism for plants grown indoors. Since they wouldn’t be blessed by natural sunlight, you need to make sure that you give your plants indoors bright light to fuel their growth and develop the vegetative stage.
So, here are some factors you want to consider in choosing your grow light.
Know Your Budget
Of course, the first consideration you need to have in choosing your grow lights is your budget. How much you’re willing to spend will reflect a lot on what you can purchase for your plants indoors. These include:
- How much light can they provide?
- How much can they heat your plants up?
- What other features and functionalities are included?
- How durable and long-lasting are they?
If you really want to stick to your budget, don’t worry — you’ll be able to find grow lights in that range. Just be sure to check them out thoroughly, though, because they might not last months!
Understand the Type of Grow Light
The next thing you want to consider is the grow light you’re purchasing. Yes, there are different types of grow lights, all of which have particular benefits and advantages.
These types are:
- High-Intensity Discharge (HID) Grow Lights
- Compact Fluorescent Lamps (CFLs)
- Light-Emitting Diodes (LEDs)
Think About the Size
If you think that grow lights come in a single size, think again. There are various sizes, shapes, and forms of grow light, and it is just right to consider it.
The size of your light should well fit the size of your drying space or your drying room. Furthermore, it needs to rest at a specific height so that it doesn’t dwell and blast energy directly close to your plants.
Consider the Lumens
Lumens are the measurement of the total visible light coming from a light source or a lamp. The larger the lumen figure or value, the brighter the light.
This measurement is typically indicated on the package or the manual/instructions of any light source.
NOTE: Don’t confuse lumens with Kelvin and vice versa. Lumens measure the amount of bright light, nothing else. Kelvin, however, measures the temperature that the light source gives off.
Check the Wattage
It would help if you had a full understanding of your bulb or lamp’s wattage simply because this will dictate the amount of electricity it will be using. Higher wattages point to more power and electricity needed.
NOTE: If you're concerned about electricity, I would suggest going with LED lights. They have bright lumens, but they are known and popular for their efficiency and cost-effectiveness at the same time.
The Brand Matters
I’ve heard a lot of people say that the brand of your grow light wouldn’t matter — that the only consideration should be the light schedule. If you look at it closely, though, it does matter.
Purchasing grow lights that are generic or those that do not come from a great brand seems off-putting. So, you want to patronize grow lights that you’re 100% sure of.
You never know; a bad-quality grow light from a non-famous brand can disrupt the light schedule by being broken and off at random times while you don’t have eyes on it.
TIP: When choosing between different grow light brands, the companies and brands I would recommend are:
Safety and Security
Last but most definitely not least would be the safety and security feature that your grow lights can offer. How much light it can give is one thing, but how protected your plants will be even if you’re not by it 100% of the time is another.
The safety and security measures we’re talking about aren’t just in terms of the bulbs or the light structures but also in terms of how it cooperates and blends with the plants indoors.
If you plan on growing indoors, then understanding light cycles will be crucial for the development of your seedlings into your flowering plants. From stage one, it’s important to ensure that you have healthy seedlings, so this characteristic will be brought up when they start flowering.
Polish your cannabis seedling light schedule and expect higher-quality buds with better aroma, taste, and smell!
FAQs:
Should you have more questions about the light schedule for seedlings, the vegetative stage, up to the flowering stage, here are a couple of questions commonly asked by many growers who are beginners!
Can You Give Seedlings Too Much Light?
Yes, it is possible to be over the suggested light schedule and give more heat and light to your plants than recommended. This rarely happens when cannabis for outdoor growers, though, because as plants, cannabis can withstand the heat of natural sunlight. You can adjust by stopping constant light, moving the light farther back, or changing it to a different grow light.
What Are Signs That You Have a Bad Cannabis Seedling Light Schedule?
The most common and obvious sign that you are giving your plant too much heat is if you notice the leaves burning. No, they don’t burn, but they emit this “yellow-like” color on the top or surface of the leaf (northern hemisphere) or the area that’s directly touched by the light.
How Far Should LED Be From Seedlings?
The recommended distance or length you should have between your cannabis seedlings should be about 24 to 38 inches above the canopy of the plant. Therefore, your grow lights are already too close if it’s almost touching the plant. Placing it too close can cause your plants to experience “light stress,” which could possibly result in hermaphroditic traits.
Should I Dim My LED Grow Lights For Seedlings?
No, dimming your grow lights should never be an option, no matter the goal you have. If you think you’re giving your plants too much light, move it farther or change the lighting. The light schedule of a cannabis plant would need hours of light — bright, warm light in order to undergo photosynthesis.
Can I Use the Same Grow Light From the Seedling to Vegetative Stage?
You can, but as per experts, better results are waiting for you if you follow the recommended grow light type per phase. During the seedling stage, many expert growers suggest using LED lights for better vegetative growth. During the vegetative stage, though, most growers recommend high-pressure sodium (HPS) lights because they’re able to produce enough light but more heat.
Final Words:
Wrapping your head around the light schedule for seedlings is something you don’t need to master during your first try. It’s normal not to know how many hours of light are needed.
However, over time, you’ll need to learn how to play with hours of darkness and light to improve the life quality of your cannabis plant and the overall quality of your buds.

