If you’re so eager to learn how to dry weed and can’t find the best guide for it, then you’re just on the right page!
Being an enthusiast for more than a decade led me to think about the possibility of starting my own mini farm. And that entailed the ways of everything from understanding dry and wet trimming to learning both the drying and curing process, too!
If you prefer drying weed indoors, I would suggest using the Spider Farmer Ventilation Kit 4-Inch CFM Inline Duct Fan. It has a temperature and humidity controller, which is perfect for making sure that your marijuana plants don’t get excess moisture content, which will lead to the development of mold, mildew, and fungi.
Why Do You Need to Dry Marijuana Plants?
Contents
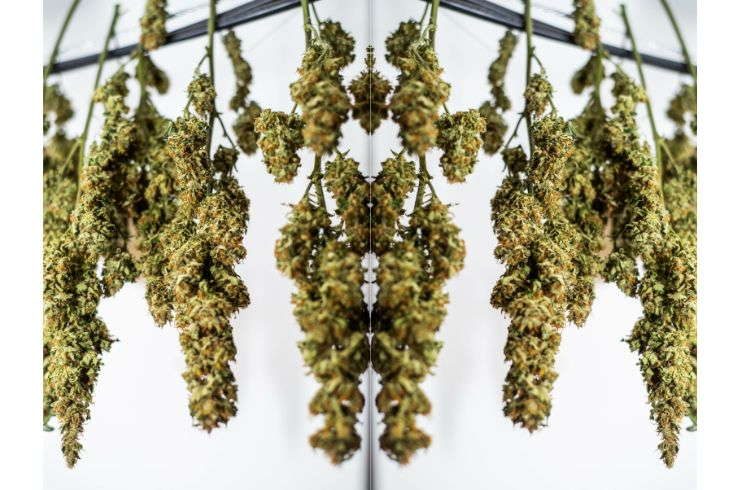
The drying process of cannabis buds is an essential part of cultivation. Why? Because what this does is help in preserving and strengthening the flavors, not to mention that your plants can be a haven for natural fungi and molds to develop.
This happens because the cannabinoids and terpenes are continuously preserved while the chlorophyll disintegrates, which gives the vegetable taste.
Casey Flippo, the CEO of Dark Horse Medicinals, said that harvesting, drying, and curing needs to be planned out because the entire process will leave you dumbfounded about how much space is really needed.
Most people wing it and suffer the consequences of terpene loss, contamination, or total crop loss, all paired with lots of unnecessary stress.”
Benefits of Drying and Curing Cannabis
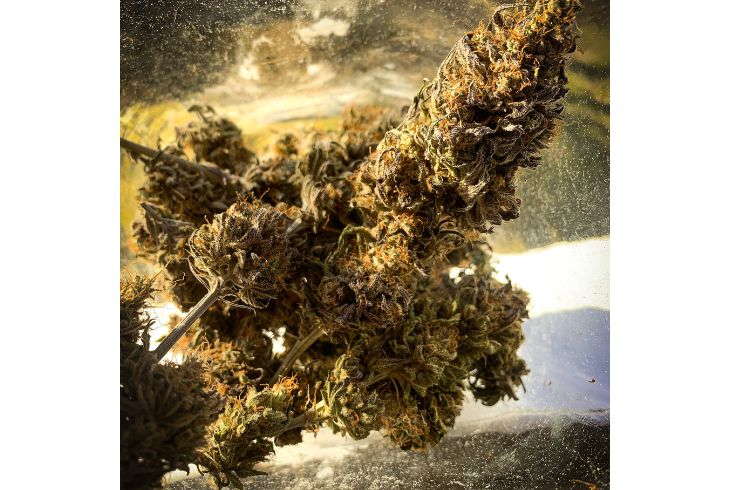
Other than the drying process, the curing process is another essential step in making sure that your marijuana buds are the best versions they can be. So, here are a few points to help you understand the significance of drying and curing cannabis buds:
- Drastically reduces the harshness of the chemicals
- Helps increase potency
- Produces smoother smoke and experience
- Helps to preserve flavors and develop aroma
- Decreases the chances of developing anaerobic bacteria
- Strongly extends shelf life
I’ll talk more about the process of drying and curing later. For now, let’s learn how to efficiently and properly dry cannabis!
How to Dry Weed? The Complete Drying Process
A lot of growers, especially beginners, think that the process of drying cannabis is just like a one-two-step process. But no, it’s not.
I have to admit that I had the same idea until I learned from experts, large branches of dispensaries, and most growers experienced in the industry.
One of the most important things I’ve learned is that indoor drying is better because one (1), the environment can be controlled, two (2) it’ll not be endangered by wildlife, and three (3), it would not be a point of discussion for legalities.
Equipment You’ll Need For Your Drying Room
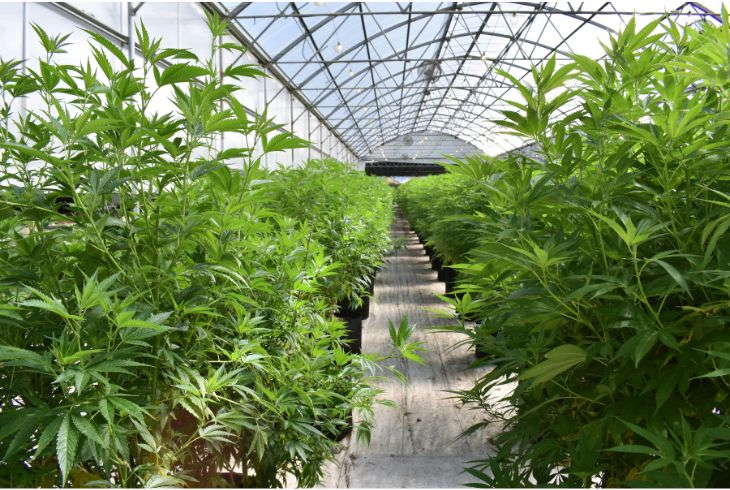
Drying weed indoors wouldn’t be possible if you don’t have the correct equipment.
This is because cannabis has certain restrictions and limitations on temperature and humidity levels to avoid the sprouting of molds and mildew, as well as draw moisture out from the plant itself.
Over-dried buds are never good, too! So, be sure to prepare the following equipment to make the drying process worthwhile.
Drying Room or Drying Space
Not really a piece of equipment, but it’s an essential factor you need to consider in drying cannabis. A drying room is simply a room or a space where you can actually control the humidity level and the temperature.
Many growers choose a dark room for their drying space because it will also be an effective space for curing cannabis.
NOTE: Most drying rooms and spaces would have wire racks where you can hang your buds upside down. This is the most common and most traditional way of drying your buds, but it's not the only way.
Drying Rack
Following your drying room, a drying rack would also be needed. It’s similar to wire racks, but drying racks would usually accommodate groups of buds, not individual buds.
Small Fan
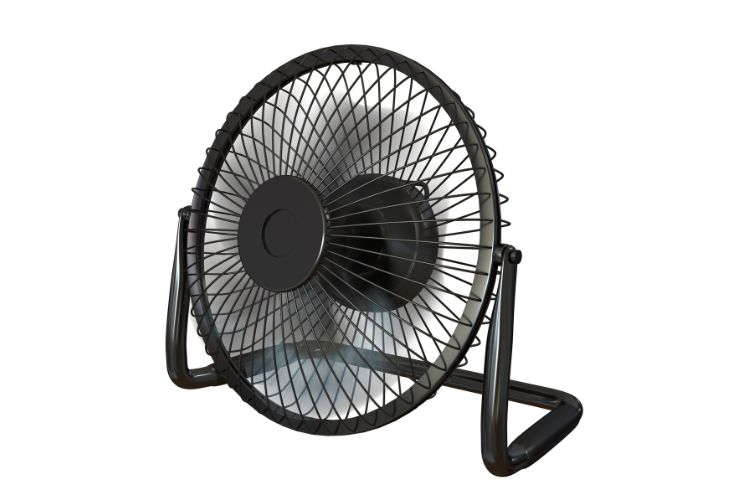
A small fan will be an extremely helpful component because it helps create extra airflow and ventilation in the room. It helps release excess moisture, providing a better drying environment for your buds.
NOTE: When using a fan, avoid pointing it directly to the fan leaves or your cannabis buds. Direct it to the wall to avoid over-drying the outer layers of the plant.
Hygrometer
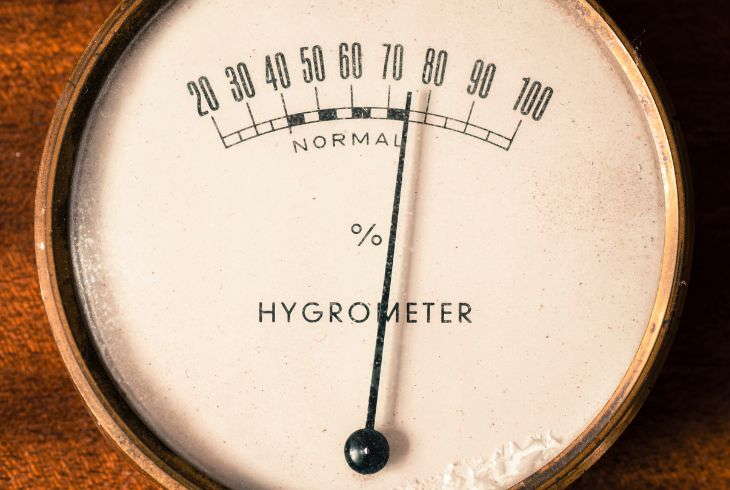
A hygrometer is an instrument that can help you control temperature and regulate humidity in a given space. It does this by measuring the amount of humidity and water vapor in the air.
Air Conditioner (AC Unit) (Optional)
An air-conditioner or an AC unit is a good additive to your drying room. It helps regulate the temperature and humidity by making the air circulate within the space.
If you have AC, you might not get the correct humidity. Therefore, you’ll want to supplement it by using a dehumidifier.
The key to a successful drying process is consistency and ventilation. You neither want your buds to sweat out nor to over-dry their out layers.
Wet Trimming or Dry Trimming?
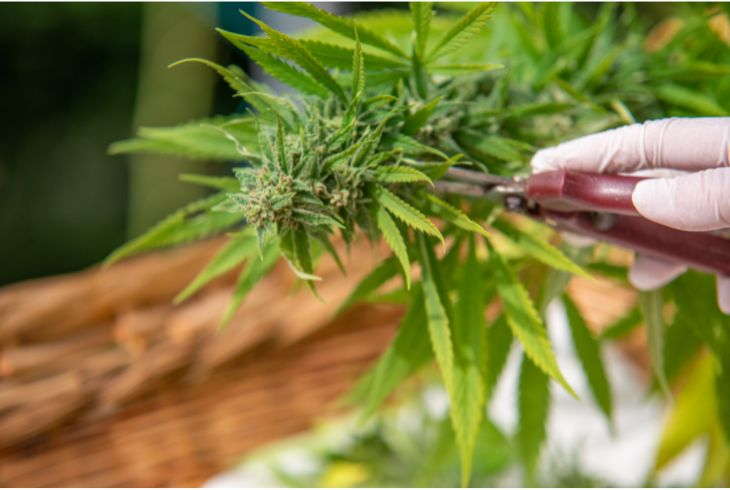
When it comes to trimming, half of the grower population argues over wet trimmed buds being better than dry trimmed buds. So, what do real experts have to say about it?
Dana Mosman, Triminator Co-Founder, says that dry trimming is essentially the better method because it’s capable of producing an extraordinary experience for users. The problem is, it’s too much work.
Dry trimming is less process efficient. That’s where wet trimming wins. You go into the field; you take it down, run it through the trimmer, and then hang it on the drying racks, and you’re done.”
Many beginner growers think that dry trimming is the better and easier way to go. But no, it’s actually the more challenging, more labor-intensive procedure.
Most growing cannabis veterans and experts, though, who have decades of experience in the field and grow cannabis for themselves and personally perform dry trimming.
Proper Drying and Curing Technique: Step-By-Step Guide
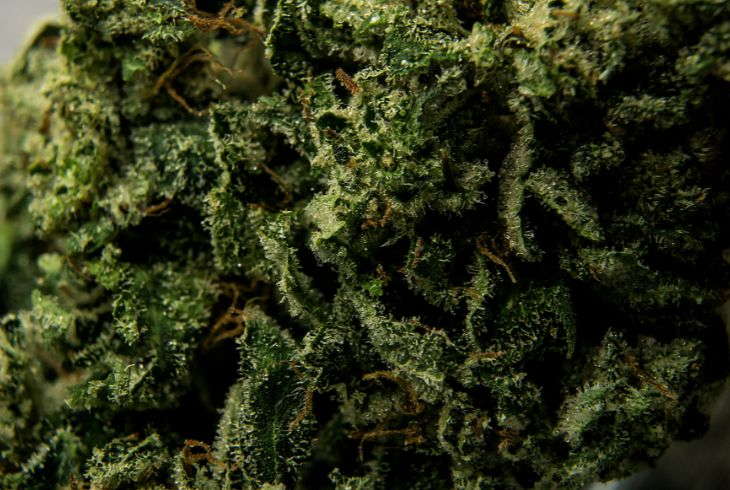
Once you secure all the equipment, you’ll need for the drying, and after you finalize whether you’ll go for dry or wet trimming, here is how properly drying your buds is done!
Step #1: Harvest Time!
Harvest time would usually be the first step of the drying and curing process. Prepare to harvest your full-grown cannabis plant.
Cut the plant by taking out small branches one by one. Refrain from cutting them all at the same time. Then, work on and cut smaller branches until you’re able to get rid of all signs of vegetation.
Step #2: Trim Extra Fan Leaves
When you’ve harvested, the next step would be to take care and remove the fan leaves. The removal of bigger fan leaves is self-explanatory; what you want to do is to trim and prune smaller leaves and sugar leaves off them.
Now, how much leaves you’ll remove will depend on where you live.
If you reside in a place where it is dry, don’t trim out all the greens. Leave more than what you think. However, if you’re in a humid environment, you’re free to take out whatever leaves you like.
Step #3: Begin the Slow Drying Stage
Cannabis is just like fine wine — the slower it dries and cures, the better and more effective it will be. Slow-drying your buds will result in the best, ideal, and most perfect products.
You can resort to hang drying, rack drying, or freeze drying, whichever you prefer. It’s also important to note that drying your cannabis in temperatures higher than 30 degrees Celsius (85 degrees Fahrenheit) can burn terpenes and other cannabinoids.
Therefore, you want to keep the temperature and humidity constant. If you have a hygrometer, that’ll help you out a lot.
Can I Dry Buds Out in Plastic Containers?
A lot of experts say that using plastic as a drying rack is fine, as long as the rules for temperature and humidity are followed. But no, I won’t suggest and go with this recommendation.
You can use humidity packs, but regular, standard plastic bags and containers would be a big no.
Step #4: Check on Individual Buds Regularly
Drying takes time — it’s not like you can already conclude the drying process after a day. Usually, it will be a lot longer than you think.
So, what you want to do is to keep an eye out on your buds every now and then. Open and ventilate your buds if it feels wet to the touch, and add a bit of moisture and humidity if they’re drying out quicker than you expected.
NOTE: One tip I can give you is to try and break a piece of a small branch from the buds. If the branch snaps, then it means that your cannabis is ready for curing.
When you see that your buds have separated from the stems completely, then it means that it is ready to transform into cured cannabis.
Step #5: Cure Cannabis Buds
After drying, the next step is to cure them. In curing, place your buds in mason jars. At this stage, you wouldn’t need airtight containers because that wouldn’t be effective in terms of moisturizing and curing.
Group them, place them in jars, and perform daily checkups to see what you need to do. Here’s a quick guide on what you need to do depending on the checkup you make:
- More Than 70% Relative Humidity (RH) (Wet to the Touch) — Place your buds outside the mason jars for about 12 to 24 hours.
- 65 to 70% RH (Moist) — Remove the cap or the cover of the jar for up to 6 hours.
- 60 to 65% RH (Dry to the Touch) — The perfect curing humidity
- Less Than 55% RH (Brittle) — Too dry. Rehydrate using Boveda packs or humidity packs for about 12 to 24 hours, then recheck.
Step #6: Ventilate Your Buds
In the first week of curing, you’ll notice them to be still a bit dried out. Don’t worry; that doesn’t mean you’ve failed! If you placed your buds in an airtight container, make sure that you let them breathe for a few hours per day.
Every now and then, open the jar to give it a breath of fresh air.
NOTE: When you notice that your buds are too wet or too damp, aerate them more. This means that more moisture needs to escape from the jar.
Dry and cure your cannabis — you’ll be surprised at how great the flavor, texture, and aroma are compared to buds that aren’t properly dried and cured.
Can You Dry Using the Sun (Outside)?
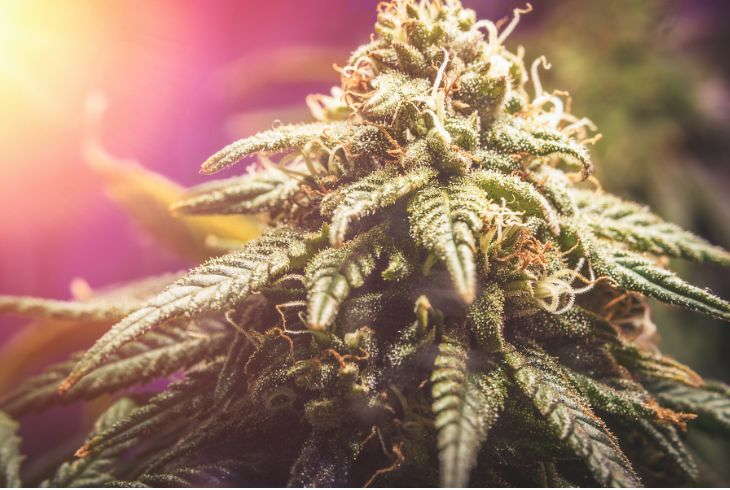
Yes, you can dry buds outside using the natural UV rays of the sun. The only problem you have with it would be the fact that you won’t be able to control temperature changes. There could be days where it’s too hot or days where it’s not giving enough heat.
Freeze Drying Technique
The freeze-drying technique is what it sounds like — you place your buds in freezing temperatures instead of hanging drying them. So, this process entails placing the buds in sub-zero temperatures.
When the water inside the flowers turns into crystals, the pressure inside the freezer drops, creating the vacuum for sublimation drying.
The vacuum will then pull in the water vapor into a unit that’s designed for condensation.
FAQs:
Have more questions about the overall process of drying your cannabis plants? Here are a few of the most asked questions about it!
How Long Does it Take to Dry Cannabis?
The standard timeframe for cannabis to dry would be around five (5) to seven (7) days. If it dries out in less than three (3) days, then it dried out too fast.
Can You Dry and Cure Cannabis Fast?
If you target to dry and cure your cannabis fast, then you might not be able to maximize its overall taste, smell, aroma, and effects. Treat cannabis like how you treat wine — the longer it’s naturally processed, the better it will be.
Can Cannabis Dry in 5 Days?
Yes, in fact, many experts say that in five (5) days, your cannabis can be completely dry if given the correct temperature and humidity. The drying time will depend on the actual environment where it is in.
How Dry is “Too Dry” For Cannabis?
You’ll know that your cannabis has become too dry if it breaks apart with regular pressure. You’ll feel that it’s brittle to the touch.
How Long Do I Need to Cure Marijuana?
The curing of cannabis is known to be the most labor-extensive process because it will be the final dictating factor in the quality of your buds. The typical range of curing spans from 10 to 30 days. However, many veteran and experienced growers stretch it out to a full two (2) months of curing.
How Would You Dry Your Cannabis Flowers?
The process of drying cannabis is something that might seem a little intimidating at first, but don’t worry; most growers don’t get it right the first time, too!
There will be mistakes — I don’t want you to think that there wouldn’t be. But hey, that’s what our guide here is for!
Learn the process of drying buds by heart and enjoy better quality, longer-lasting buds and smoother smoke!

